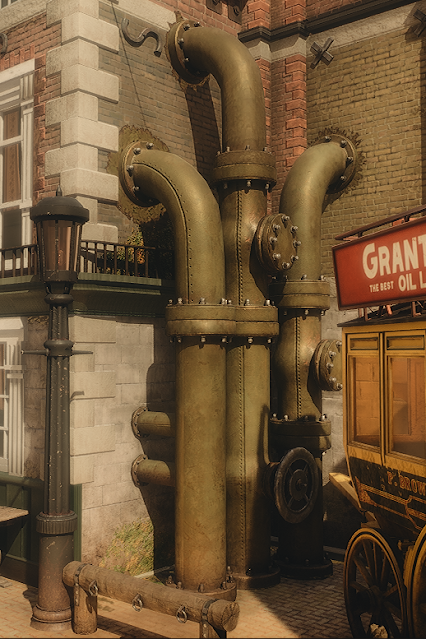
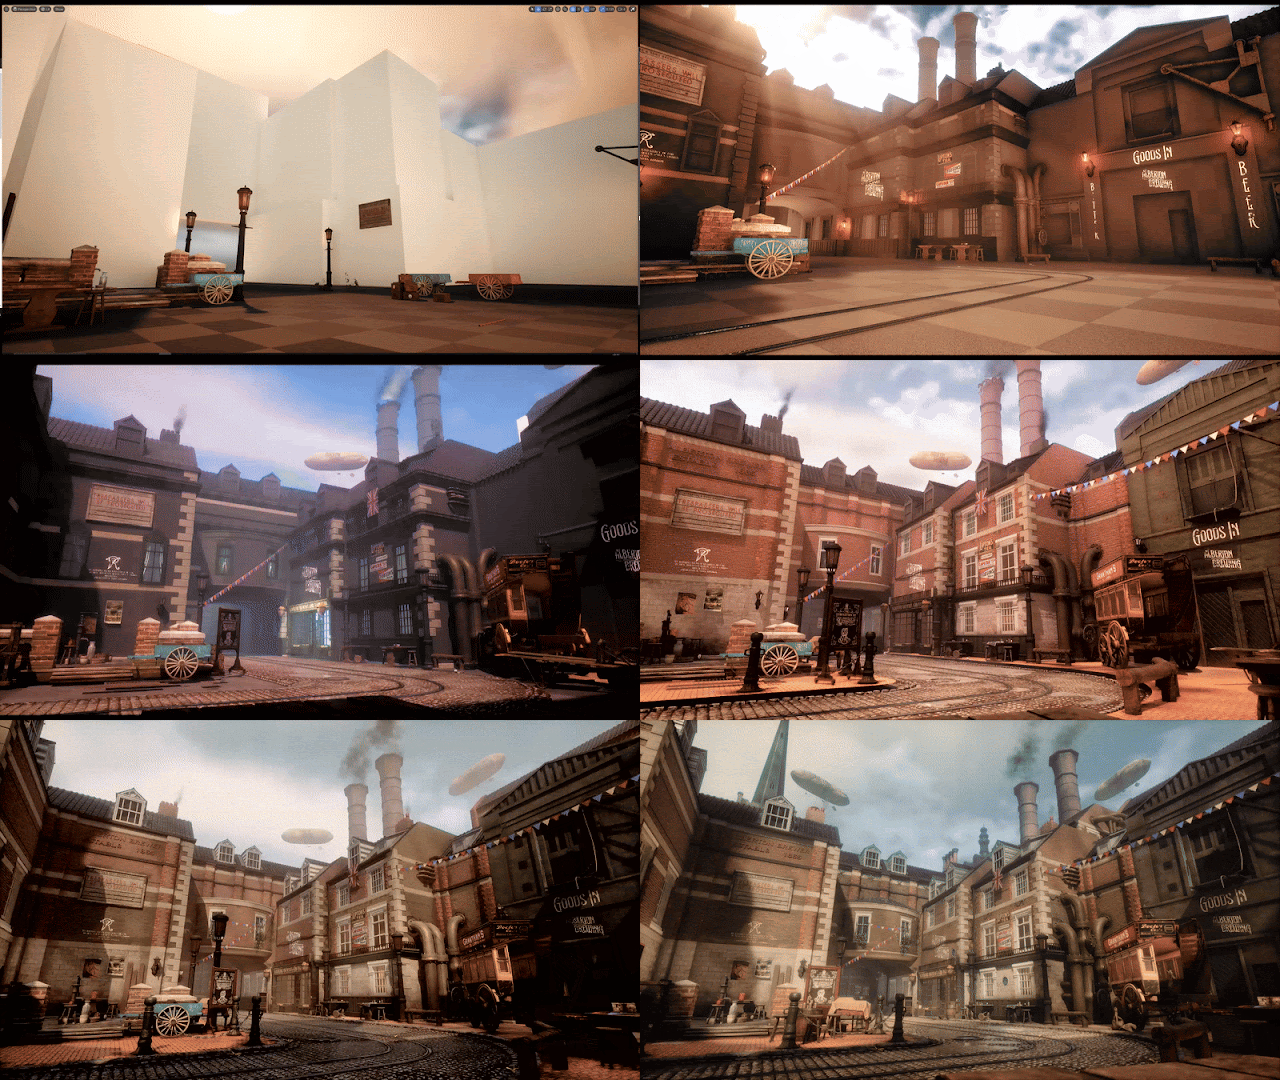
As my level progresses into the finalisation stages, I wanted to think about how to execute certain renders.
I had already made my marketing/brand layout, it was just a case of getting renders ready for photoshop.
Opting for 2 methods of renders, the main level renders would be done in unreal, then smaller asset/prop work, textures and breakdowns would be done inside of marmoset toolbag.
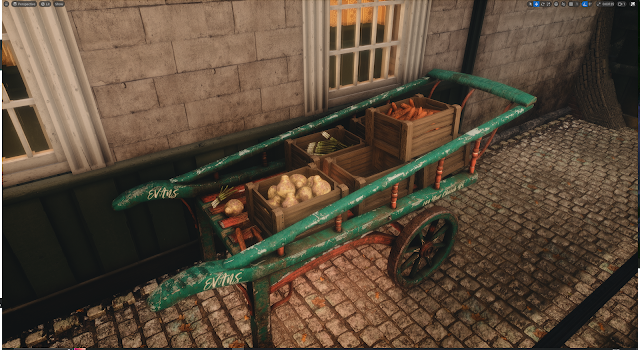
Here is an example of a slightly older engine test render.
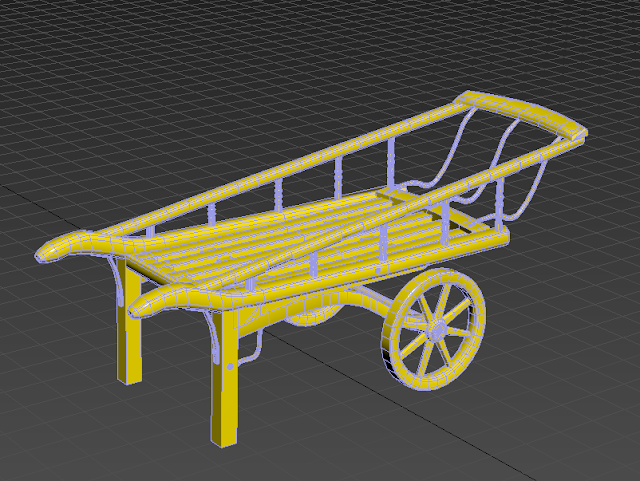
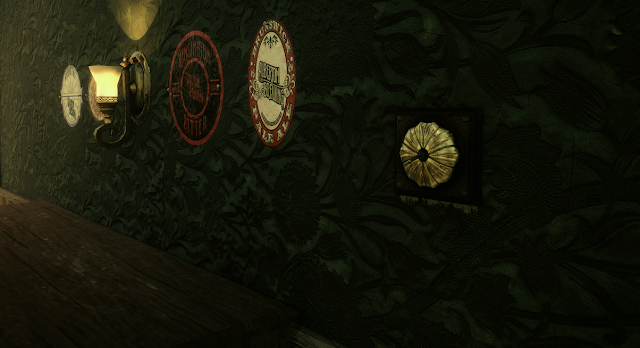
This is an example of a prop breakdown done inside of marmoset toolbag, where I rotated the item and also put the visualisation mode on to render the wireframe seperately.These are the examples of the logos I made inside of photoshop to show the more graphical elements within the level.And these materials were rendered separately, but I stitched them together inside photoshop after they were rendered out of marmoset toolbag.
Costermonger Cart:
To fill out more space in my scene, I did some research into what potential props I could add to the scene.
I was told not to add any more assets to the road, otherwise it would block the main camera view.
So I opted to put another asset off to the side so it isn't disrupting the level design flow, but the player could go up to it if they wanted to look at the asset.
So I made this asset a Costermonger cart. After researching victorian goods, I had already made potatoes to go in the scene, then I came across a costermonger, of which is a vegetable and fruit travelling salesman.
Here is some references I pulled up for the costermonger cart, it had really nice shapes and silhouette, so it would be really nice to make this exact model.
The model only has 16,450 tris, which isn't bad for an asset like this, considering there is a lot of form changes and cylinders. The bit that heavily ups the tri count is adding boxes with vegetables inside it.
To create the vegetables I created basic shapes, in the case of the carrots, I made a basic cylinder with about 5 subdivisions, then using the soft select tool I pulled and pushed verts to make it look more organic.
MassFX Rigid bodies:
Then when I had finished creating the vegetables I wanted to drop them into the wooden boxes. To do this I used the rigid bodies modification. I placed all the vegetables above the crate then set these to my dynamic objects. I then set the crate to static object. I finally baked the simulation once I was happy with the positioning of the vegetables and deleted any that fell out of the boundaries.
When I was satisfied with all the placement of the vegetables, sent the meshes to texture inside of substance painter.
Here are what the vegetables look like after texturing them inside of substance painter - I opted for 2 carrots, 2 spring onions and a swede, I added rope on a plane as well, because I wanted to tie some of my onions up into bunches.
While I was at it, I also textured the cart. Making sure that it was worn and dirty as usage of this cart through fields and general ware would make it look like this.
With all the vegetables and wooden boxes in place, the tri count came to a staggering 98k - however, I wanted to make it as realistic as I could with my current skills and the tri count is something I had to sacrifice to do this. However, I plan on utilising this asset as a nanite mesh. I applied material IDs to the final export so I could easily attach the relevant textures to the meshes.
Without the vegetable meshes and boxes, the cart itself is in the range of 16.5k tris, which for a hero asset, isn't particularly bad. It is hard to make something 'photorealistic' and game ready at the same time, it almost seems impossible to do this with tileables and a restricted geometry count.
This is what the model looks like inside of unreal. I really like how it turned out. Having the modelled assets really makes a difference. This part of the map is nicely filled up. Furthermore, I have some audio playing behind the gate, with these assets here the player might be enticed to investigate this area and might stumble across the audio while looking at the assets.
Marmoset renders:
For the final touches I went ahead and rendered the asset inside of marmoset toolbag.
I added a shadow catcher plane in order to have some drop shadows on the asset.
After rendering the asset from multiple angles, I put it into photoshop to do my presentation pass and post processing.
This is the final result. I am really happy with how the asset turned out, it is one of my favourite renders out of all the assets I have created.
Lightswitch change:
I had some feedback regarding my lightswitch - it was recommended that I change it from the 6 switch design to a single switch that controlled them all.
However, all is not lost because I could reuse the six switch design elsewhere in the level and retain the same UV space.
This was one of the more difficult tasks to undertake, not necessarily from an optimisation standpoint, but more for a quality vs performance standpoint.
I enabled profile gpu via the console command to see what was costing the most. I noticed that it was lights that were the key issue.
To make it look nicer in some spots, I set the shadow default to raytraced enabled - to combat certain lights causing problems, I went into the light and disabled cast raytrace shadows and did this for all lights that were not affecting shadows in the scene, this mainly included bounce lights or lights that lit up dark areas, as the directional light would be doing most of the heavy lifting.
Another one that caused issues was my skylight - the skylight was profiling about 2.40, but since I downsized the cubemap texture size from 512 to 128, that statistic has gone down to 0.40
After checking my post process volume, I saw that hit lighting for reflection was turned on which was causing reflection costs to go up. However, shifting this to surface cache marginally improved performance and I also believe it looks better as it almost gives the windows a slight glare which when viewed from certain angles can be more realistic.
Sky colour changes via post process material:
I played with some of the original settings within the material instance that was created and it ended up adding to my sky. Rather than create a 'volumetric' per se, it instead indirectly added to my skysphere colour and made it more 'smoggy'
Level without fog post process material enabled.
Level with for post process material enabled.
It is a subtle difference, but I like how overcast it now looks with the extra hints of grey, furthermore the cream/orange offshoot of the volumetric cloud is now more apparent after the change.
Local fog:
I wanted to create some subtle low lying fog which could add to the atmosphere of the scene - I did this via a hanging particulates niagara system.
However, the majority of the control was within a material instance.
 |
| Affecting exposed paramaters in the material instance |
The key to this material was the depth fade and absolute world position.By multiplying the Z of the world position with the depth fade nodes, I was able to essentially drag the fade from the floor up to the top of the texture.
This way, the particle wouldn't just clip through the floor.
Along with various other fade options for the opacity, such as radial gradient exponential, this material instance gave me a lot of control over how the fog works.
Cloud light function:
For some additional depth to the scene, I created a light function for the directional light
I created the cloud texture within Substance Designer in order to make it tile and alter the levels, I did this with a simple clouds 2 and changed the random seed. Various parameters on this material include:
- Tiling (Able to tile to clouds texture)
- Offset (Offset the original cloud texture)
- Panner (Animates the clouds)
- Speed X + Speed Y (Changes the panning speed on the respective channels)
- Speed (Changes the directional speed for both channels)
- Animated clouds? (Static Switch parameter so act as an on-off switch for the clouds to move or be stationary)
- Intensity (Increases the outline of the clouds)
- Contrast (Increases the gap between the light and dark of the texture)
- Emissive colour (acts as a boost for the brightest value range)
Instead of trying to get the volumetric clouds to cast shadows, it was more effective to have this as a base light function for more control over the material, rather than relying on the shape of the clouds, giving the overall scene more art direction potential.
Another piece of advice I received was to create some litter for my scene just to dirty it up a bit.
So the way I decided to put litter into my scene was via to foliage tool inside of unreal.
I created several meshes of already existing textured assets, such as discarded cigarettes, crumpled paper, squashed boxes and used these as my base meshes.
Tutor feedback:
Recently I had some feedback from craig regarding my fmp - one of the pieces of feedback was to do with the shop.
He mentioned that the shop needs some extra assets to make it feel more 'shop like' - which I understood.
However one of the points that was mentioned was to maybe add some tables with items on it, I decided to rule against this piece of feedback as there was minimal space between the counter and the opposite wall to justify putting any sort of object there without it feeling cluttered.
Here is a very rudimentary drawover for the shop, demonstrating the various lengths of assets. Tables can vary in size, but in the case of a shop that has to demonstrate multiple items to be the most appealing to customers, of which I believe a reasonable size for a table like this would have to be at least 2m x 2m for the dimensions. Giving the player only 0.5 - 1m of room to walk by, I don't believe this would work for a shop of this size.
I did take onboard the idea of other items.
Here is a screenshot with some additional items. The items in question consist of: a chair, numbered metal jugs and a metal bucket.
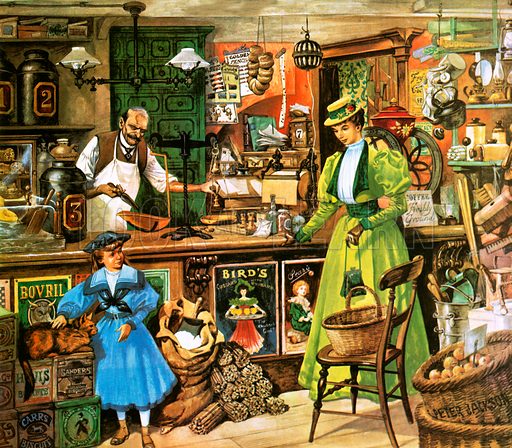
For the jugs, I drew inspiration from this image. Furthermore, I created 6 images in photoshop to correlate with the jugs in question, using this as a mesh decal on top of the jugs.
 |
| Number stencil created within photoshop |
 |
| Chair Reference |


